Free starter pack
Make your own website
You don't need to become a developer before you're allowed to have a website that looks like you. This is a finished site you make yours, and the exact steps to do it, in order.
Most guides to building your own site start too far ahead, telling you to install this and clone that, and lose you in the first two minutes. This one doesn't assume you know any of it.
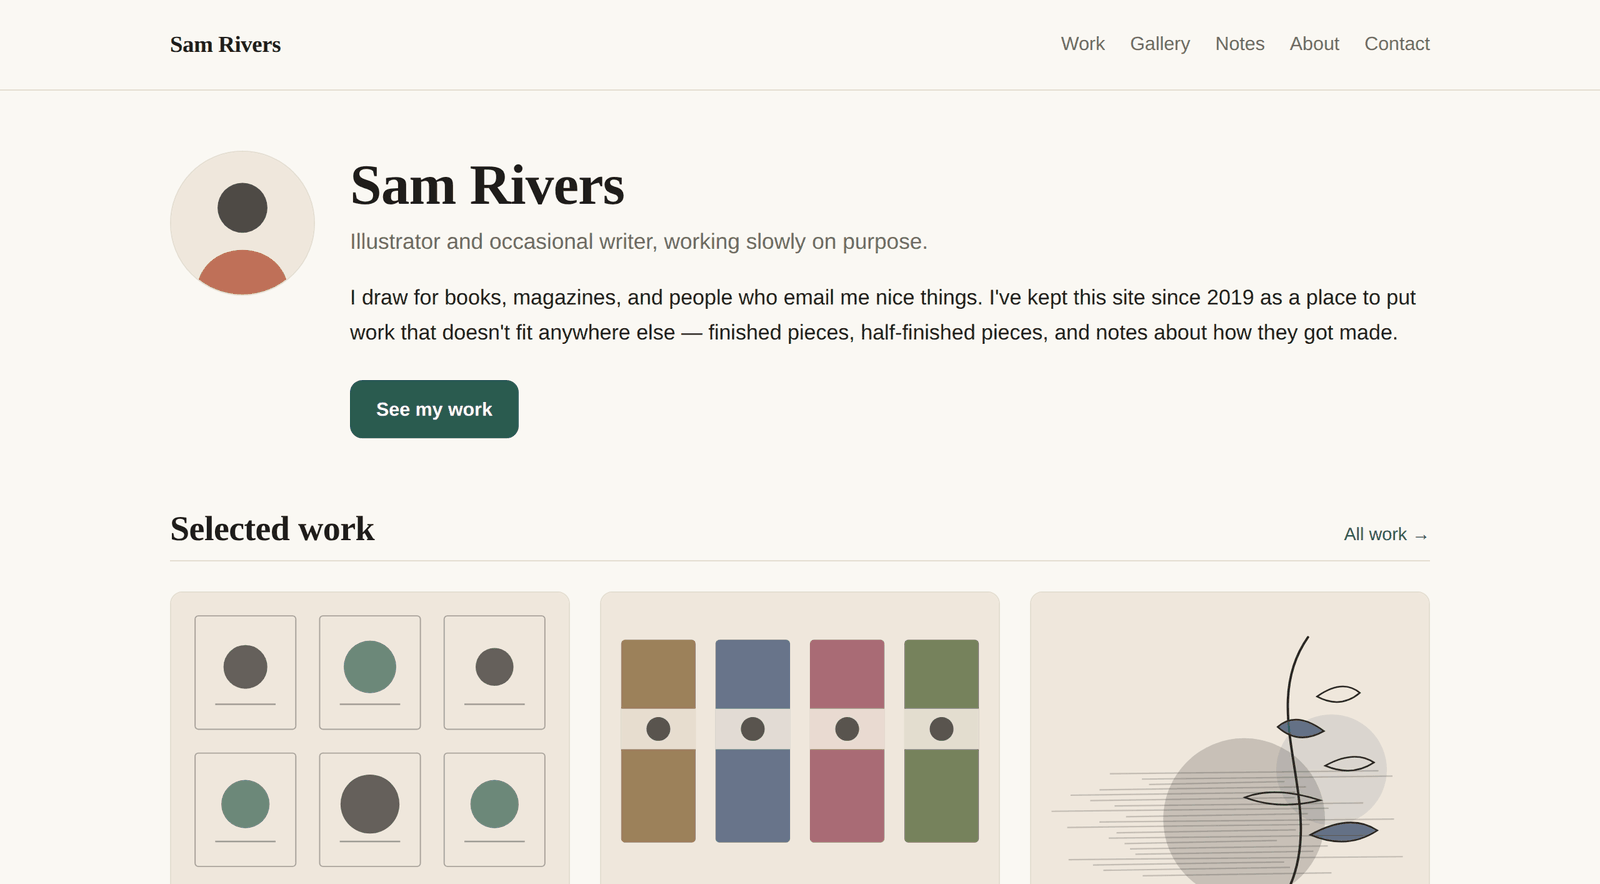
You're not starting with an empty folder. You're starting with a working website: homepage, blog, portfolio, gallery, about page. Your job is to change the words and pictures to yours.

- About an hourmost of it waiting for downloads
- Free, foreverincluding putting it online
- Mac or Windowsno experience needed
Is this for you?
Probably yes if you've used Wix, Squarespace or Canva, and you want something that feels more like you, or you just want to own the thing instead of renting it.
Probably not if you need a shop with a checkout, online bookings, or user accounts. Those are real jobs for a real platform, and there's no shame in Shopify.
The whole thing, in five steps
-
Install two free programs
A code editor called VS Code, which is where you'll type, and Node, which builds the site. Both are free, both install like any normal app: download, click through, done.
About 15 minutes, nearly all of it downloading.
-
Download the template
One button on GitHub: Code → Download ZIP. Unzip it into your Documents folder and rename it to whatever your site is called.
2 minutes. You don't need a GitHub account for this bit.
-
Open it and switch it on
Open the folder in VS Code, then type two things into the panel at the bottom of the window:
npm installnpm startThen open localhost:8080 in your browser. That's your website, running on your own computer. Nobody else can see it yet.
5 minutes. This is the scariest-looking step and it's two lines of typing.
-
Make it yours
Open one file,
site.js, and change your name, your photo, your introduction, your menu, your links. Every line has a note next to it telling you what it does.Save, and the page updates by itself while you watch. That's the bit that makes it feel real.
Then put your own writing and pictures in.
As long as you like. This is the fun part.
-
Put it online
Drag your folder onto a free service called Netlify and it's live, with a real web address you can send to people. There's a slightly longer route that means future updates publish themselves. The guide covers both.
20 minutes. Free. Your own domain name is optional and costs about £10 a year.
Four themes, one word
In step 4, this line is the whole of picking a look:
theme: "cream",
Change that word, save, and the entire site changes. Same site, four times:
-


cream: warm paper and ink, serif headings. Calm and bookish. -


ink: black and white, high contrast. Lets the work shout. -


dusk: deep blue night, lilac accent. Good if your work looks better dark. -


bloom: soft peach and terracotta, rounded. Handmade and friendly.
Each theme also follows whether your visitor's phone is set to light or dark. These previews are showing you whichever you're using right now. And if none of the four is quite right, you can change any colour to your own.
What if I get stuck?
You will, at some point. Everyone does. Professional developers break things dozens of times a day and have simply stopped finding it alarming.
So the guide has a whole chapter on it: how to read an error message, the five things that will actually go wrong, and how to undo anything. There's also a chapter on using ChatGPT or Claude as a helper, with prompts you can copy, so you're directing the tool rather than pasting in code you don't understand.
Ready?
The step-by-step guide lives with the template. The quick start is the whole process on one page; the longer guide goes slower and assumes you've never opened a terminal.
Free to use for anything, including commercial work, with no credit required. Built with Eleventy. This site runs on the same setup.